I wanted to take a couple pictures and describe where I am at with the my mini quad design currently. Thanks to a local who goes by the name Twitchity on the Flite Test forums, I was able to get a frame prototype cutout of G10/FR4 fiberglass sheet relatively quickly. Twitchity bought his own table top CNC so that he could build his own frames and did a great job milling my frame pieces.
Below: You can see the "clean" and "dirty" frame sections

As mentioned in an earlier post, I started with DXF files from untestedprototype.com, and made changes to fit my own design criteria. Significant changes I made include removing the GoPro mounting on the bottom clean plate, redesigning the top clean plate to omit the GPS antenna mount, and removing one set of mounting bosses intended for extra vibration dampers. The original design used 6 vibration damping bobbins but the brand or durometer information was not listed. Since I wanted to use commonly available Lumenier QAV400 bobbins, I decided that four vibration dampers would be more than enough since it worked on the QAV400 fine. I do have some concerns that the Lumenier bobbins may be too stiff honestly just because the mass of the clean section will be less than that of the clean section on the QAV. We'll see how it works and adjust accordingly later. I have other design ideas floating around in my head already in case this doesn't work.
I also made a lot of small changes here in there to the "dirty" lower plates, mostly just aesthetic stuff, however instead of mounting the bobbins to the upper dirty plate, they mount to the lower dirty plate. In later pictures you can see how this allows the two sections to "straddle" each other and effectively packages the sections closer together. All part of the goal of moving as much mass as possible close to the roll center of the airframe.
Below: Here you can see the "dirty" plates separated, with ESC and standoffs exposed.

For this build I opted to try out Ready to Fly Quads 4-in-1 ESC. This is a single PCB that has 4x 12amp electronic speed controls built in. It should be enough to handle the 2204 motors and 6x3 props I am planning to run. If not there is plenty of room to mount 4 bigger ESC's in the dirty plate. I'm hoping this works out though because as the pictures show, this ESC is tiny which means reduced mass, but also reduced wiring since there is no power distribution needed. The PCB is the same footprint as the small Naze32 flight controller (which I am also using). The hardware and spacers used to mount the ESC and flight controller are all nylon.
Below: Ready to Fly Quads 4-in-1 ESC

Below: Aluminum standoffs separate the bottom dirty plates, nylon hardware for the ESC.

Below: separated "clean" section

Above you can see the clean section plates separated. In the original design from untested prototype called for 35mm standoffs to separate the upper and lower clean plates. After doing research on typical battery sizes in the capacity I was planning, and considering the electronics I planned to install between the plates, it was determined that shorter 30mm standoffs would do the job just fine. For the prototype I am using aluminum standoffs, but if weight proves to be an issue, I will swap the clean section standoffs and hardware to nylon to reduce weight. The dirty section will keep the aluminum standoffs regardless of all up weight for rigidity.
Below: QAV400 bobbins mounted to the clean plate, and Naze32 visible.

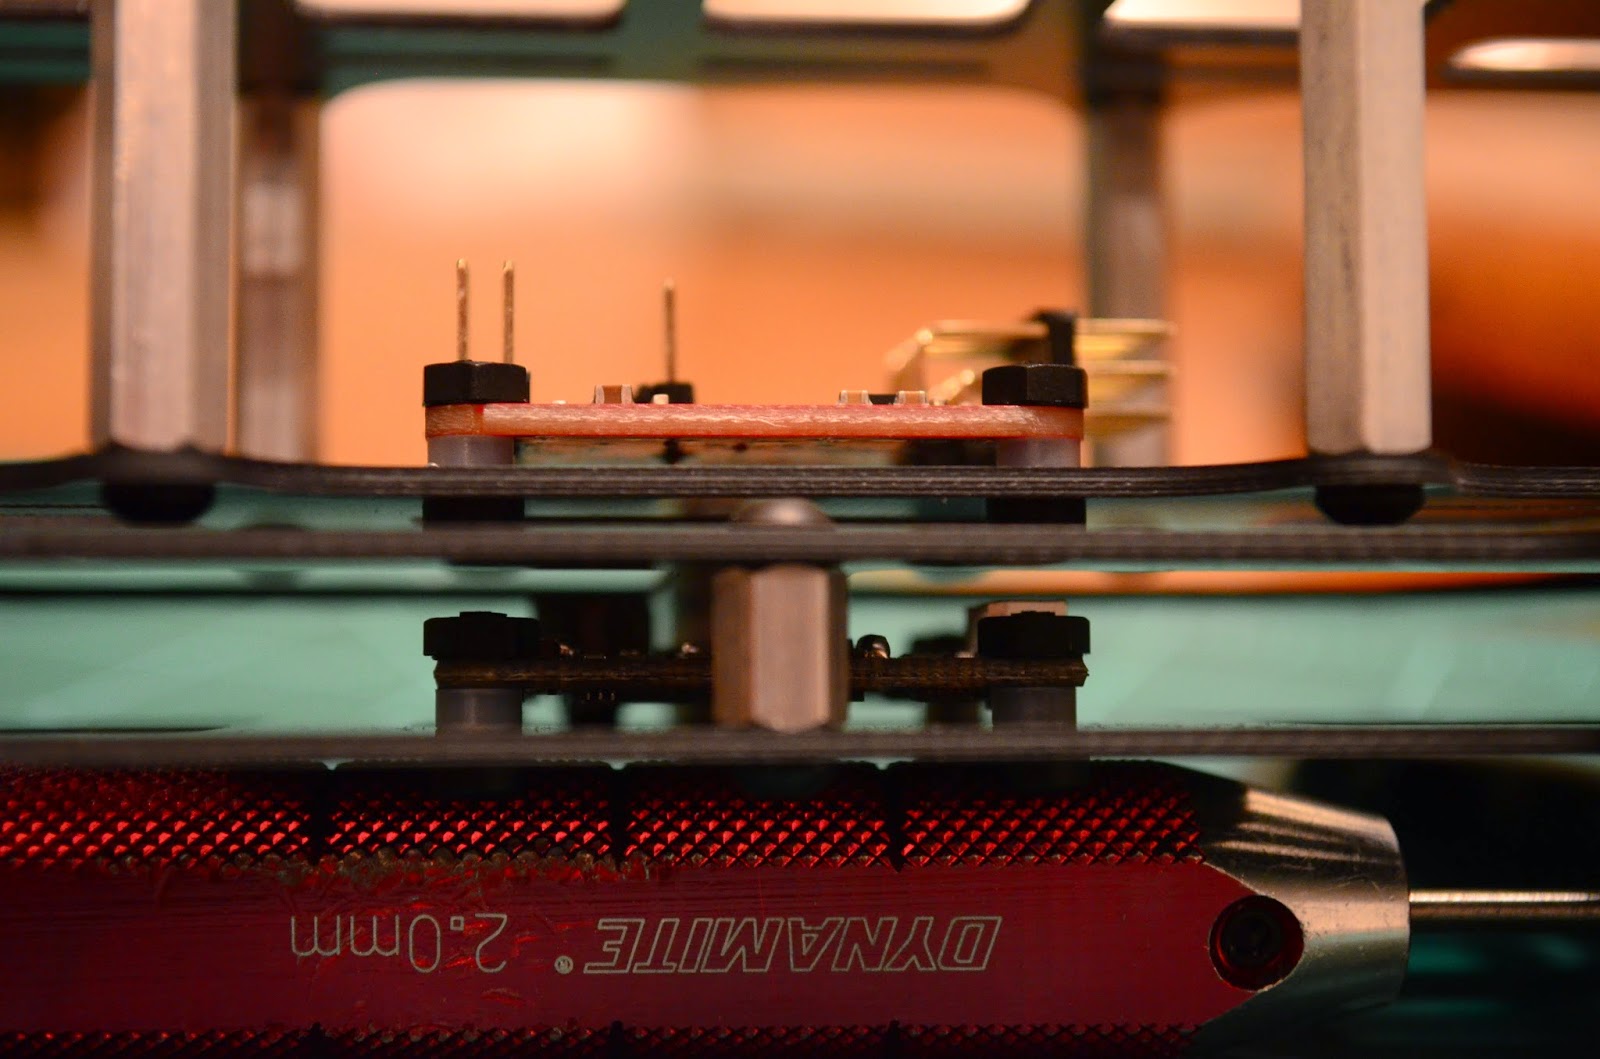
It's hard to tell from the picture below, but even though the clean and dirty sections are close, the hardware does not touch. If this proves to be too little clearance I will add some washers below the bobbins to give additional clearance. Based on having it assembled in hand though, it seems there is enough clearance to allow the dampers to flex without the two sections contacting each other.
Below: clean/dirty sections and ESC/FC stack up.

For this build I am using the SunnySky X2204S-16 2300kv motors. Combined with HQ Props 6x3 carbon/nylon composite props, these should run pretty efficiently on 3s, and hopefully provide decent performance.
Below: SunnySky/HQ Prop motor and prop combo.

The next set of photos pretty much just show general mock up of the mini quad with general GoPro and motor placement. I am working two possible arm designs in parallel. Either way it will end up being a 290mm size quad, although I'll probably just class it as a 300 size since that is a nicer number!
Below: mock up photos of the frame with motor placement and GoPro.


You may have noticed that in the above pictures, two standoffs are missing from the upper clean section. This is intentional because I am working on an integrated GoPro mount which will mount to these points. This is also why I shortened the lower clean plate from the untestedprototype.com design, so that I could sling the GoPro a little lower. The GoPro itself is a significant part of the mass of the quad. I don't have a scale yet, but I did some web searching and the hardcore cyclists posted weights of ~76g for the camera with the battery installed.
Below: Lumenier GoPro video out connector and Immersion RC VTx.

The last picture shows the GoPro video out connector from Lumenier. The plan is to mount this recessed in the integrated GoPro mount on the front of the quad. This is inspired by the gimbal design Lumenier just released for the QAV400. The believe the DJI Zenmuse H3-3D and H3-2D as well as the Xaircraft Stella gimbals employ similar methods of connecting to the GoPro.
I also intend to use the Lumenier Layer Lens and strap to hold the GoPro into the housing. This will be done by incorporating a pass through for the strap. More will come of that in a later post as I am currently modeling it Inventor Fusion with the intent to have Shapeways print up a prototype for testing.
I'll be making separate posts concerning the arms, because I have a lot going on there in terms of design there, and they really deserve their own posts.
-Patrick
How is the 4-1 esc working for you?
ReplyDelete